![]()
glowport installation guide for dual output LED kit
IMPORTANT - DISCLAIMER - PLEASE NOTE The glowport installation is undertaken entirely at the customers risk, and the instructions below are guidelines only. Drumport Limited can not be held responsible for any damage to the interior or exterior of the shell, covering, or fittings. The 3M adhesive is designed to bond firmly to most clean dry surfaces, and may lift the wood fibres from the inner part of the shell upon removal. |
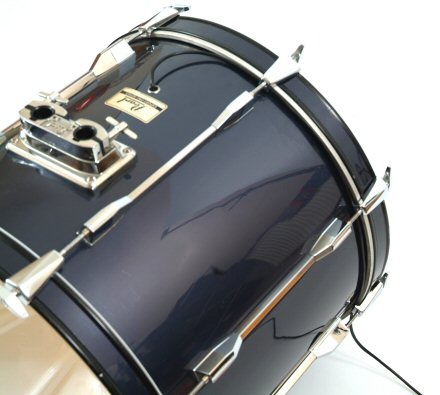
| Remove hoop and existing head if fitted. Ensure that the inner shell is clean and dry. | 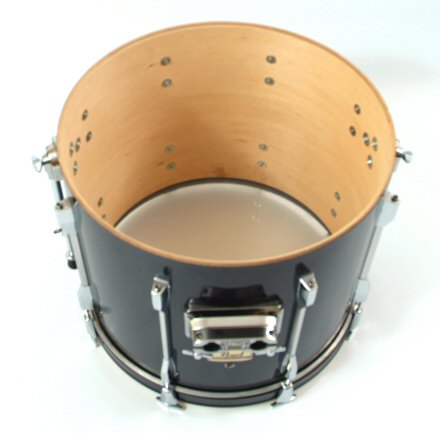 |
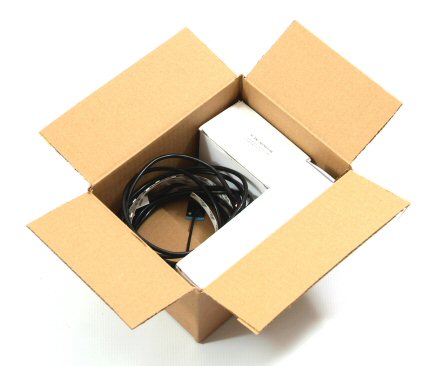 |
Check the contents of the glowport control box. |
| It contains the power supply, the controller with the remote control and instructions, a self adhesive tie base, a cable tie, and the LED lighting strip complete with the cable. | 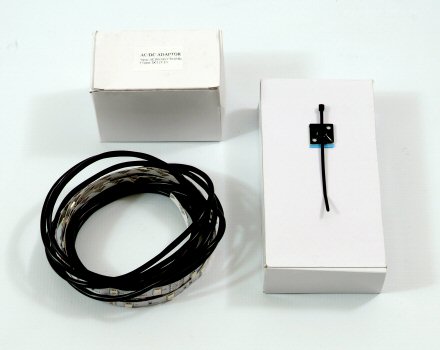 |
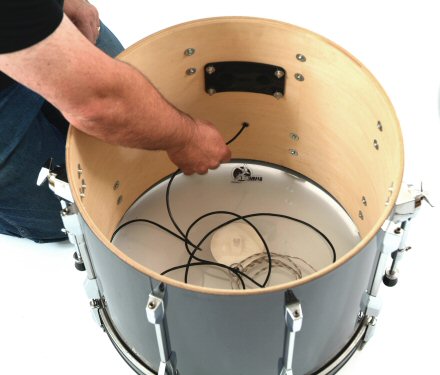 |
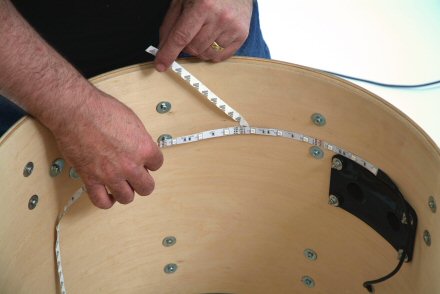
From the inside of the drum, feed the cable through the air hole and position the LED strip so that the first LED is approximately 15mm outward from the centre line of the shell. The optimum distance from the edge of the shell to the LED strip is approximately 100mm, but consideration should be taken as to the position of the internal fittings. |
| In the Pearl Export shell used here, it was convenient to use the edge of the washers that hold the lugs as a convenient guide. Peel the backing strip away from the LED strip as you position the strip, and gently but firmly ensure the strip is stuck to the shell. |
 |
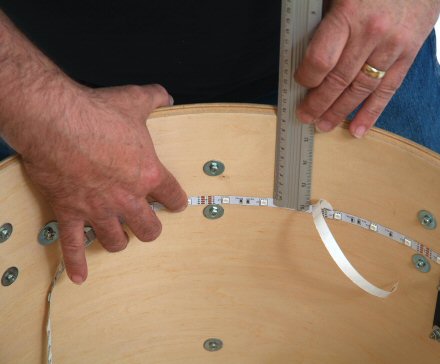 |
Althought the optimum distance is 100mm, this is not critical, and it is better to ensure that the strip is stuck to the shell instead of the fittings. |
| Continue along the inside of the shell taking care to ensure that the LED strip is stuck firmly to the shell as you go around, and not sprung between points. |  |
 |
Finish sticking the LED strip around the shell, and if necessary, overlap the strip, although the strips are length co-ordinated for the shell size chosen. Stick the self adhesive cable mount in a convenient position, and secure the cable using the cable tie provided, ensuring the cable does not interfere with any other fitting including the tom mount downtube if fitted. |
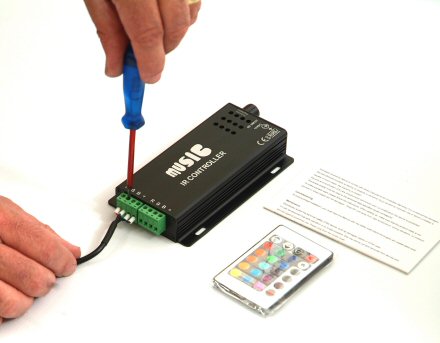
Using a small flat screwdriver, fit the cables into the power block. The cables are colour co-ordinated, Black is common and goes to the terminal marked "+", green to "G", blue to "B", red to "R". It does not matter which outlet the LED strip is conected to. If you are fitting the dual LED strips, for instance to a double bass kit, then fit the other cable in an identical manner. |
 |
 |
Insert the power plug into the controller and plug in to a suitable mains power outlet. |
| Check that the LED strip works prior to fitting the glowport. | 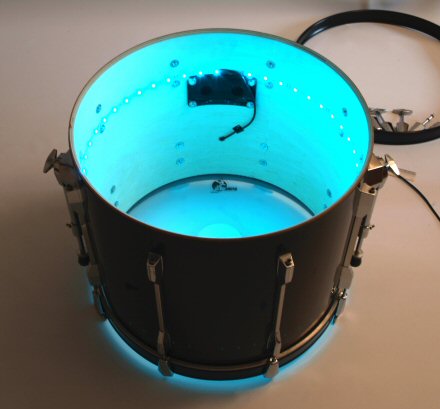 |
 |
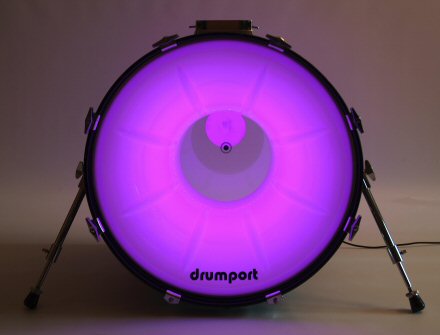
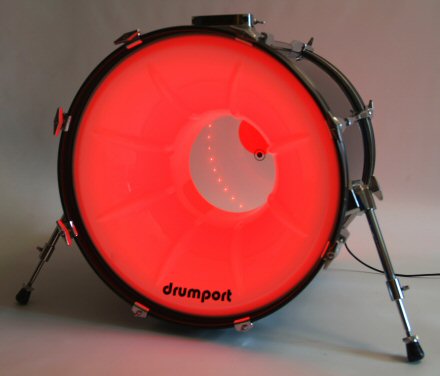
Fit the glowport into position, ensuring that the tension bolts are only finger tight. THE GLOWPORT DOES NOT HAVE TO BE TENSIONED LIKE A NORMAL RESONANT HEAD. Route the cable externally to ensure that it does not catch. I would recommend routing it under the lugs/tension bolts. |
Check that the glowport functions correctly. The controller incorporates a sensitivity control (explained in detail in the instructions), and it is recommended that the controller is positioned near the shell of the bass drum in order to pick up the sound locally if using the sound to light function. |
 |
 |
Find a dark stage, turn off all the other stage lights, and open the show with a short but spectacular drum fill! As a suggestion, I stitched a piece of loop Velcro to my black jeans, added strips of self adhesive hook Velcro to the underside of the remote, and hey presto, no more fumbling around in the dark (leave that to the guitarist!) |
| Please send any video of you and your glowport to info@drumport.co.uk so we can add it to our gallery. | |